I’ll go through them one by one:
1) ECUConfig 3: DRL Customer Setting Option Present; Select value: Yes:
That one is irrelevant to a 5th gen bcm, and would be defaulted to yes anyway.
2) CBC Features: DRL Configuration; Select value: Optional DRL:
This should be “no drl” from the factory, and stays that way. There is no dedicated DRL circuit on the 5th gen bcm, so optional drl is irrelevant.
3) CBC Features: DRL Lamp Location; Select value: Turn Signal:
That one does get changed from low beam to turn signal.
4) CBC Features: DRL Dropout Enabled; Select value: Yes:
That one means that the corresponding DRL lamp will shut off when the turn signal is used. Since the turn signal itself is the drl, this setting is irrelevant.
5) CBC Features: LED Dedicated DRL Present; Select value: No:
Same as above- no dedicated DRL circuit, so irrelevant setting.
6) Cust.Set.Menu 1: Daytime running lights CSM Present; Select value: Yes:
That one is already set to yes on all US market rams (this is the setting that puts the drl toggle in the radio settings under lights).
7) Customer Program Features: Daytime Running Lamps ; Select value: Enabled:
All that setting does is toggles the drl on or off, just like you do in the radio settings.
Then there’s the missing setting that is not mentioned-
CBC Extern.Light Calibr.: Signature Light Present- NO
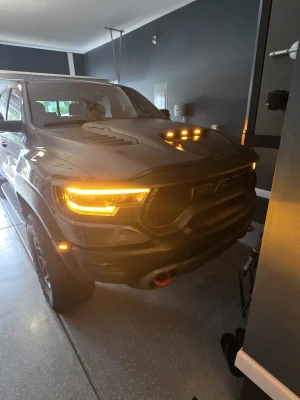
So, the upper and lower strips have two sets of LEDs in them- white and amber. Obviously the amber serve as the turn signals, and DRLs when configured that way. The white leds serve two purposes- signature lighting when the truck is running without the headlights on, and parking lights when the headlights are on.
If you don’t turn the signature lights off, they will be on in the background when amber DRLs are on. It will be hard to see because they are dim as signature lighting and the amber overpowers them, but they will still be running in the background.