- Joined
- Apr 20, 2022
- Messages
- 2,266
- Gallery
- 360
- Reaction score
- 2,931
- Location
- New Jersey
- Current Ride
- 2022 Diamond Black TRX
- Current Ride #2
- 2022 Wrangler Rubicon 4xe
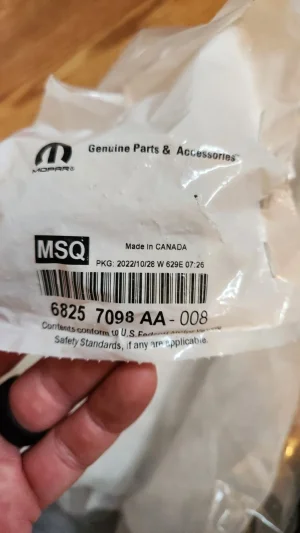
6VZ37GXHABCan someone please post the part numbers for all fenders? I’ve been putting off painting them to match since I had yet to see how these come off but this thread looks like it’ll be just what I need.
6VZ36GXHAB
6VZ39GXHAA
6VZ38GXHAA


") . Here is what I did -
. Here is what I did - . A big thanks to everyone for posting on this thread, especially